





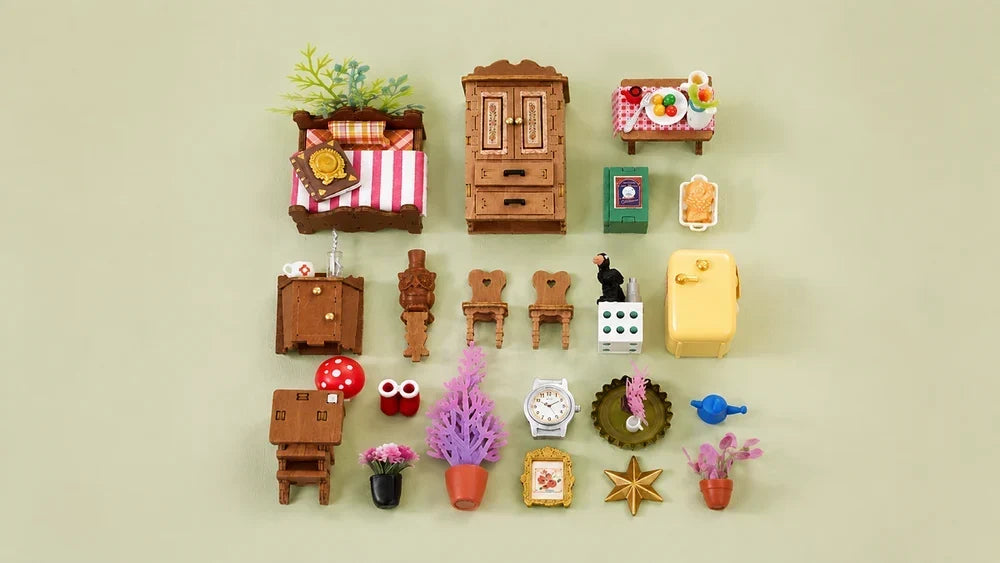
When it comes to painting miniature furniture, you need a bit more control than you do when painting larger furniture. Miniature surfaces are smaller, details are finer, and mistakes are much more noticeable. Too much paint can overpower decorative elements, and the wrong brush can leave prominent brush marks on the surface.
Fortunately, you can achieve a neat, polished appearance without fancy techniques. All you need is the right paint, appropriate brushes, and basic painting skills. Knowing what to do at each stage makes the process much easier, from the preparation of the surface to the final finish.
In this article:
- What Paint Should You Use on Miniature Furniture?
- Supplies You Will Need
- Prepare the Furniture for Painting
- How to Paint Miniature Furniture Step by Step
- How to Create Popular Miniature Furniture Finishes
- How to Avoid Brush Marks and Thick Paint
- Common Mistakes and How to Fix Them
- Painting Before or After Assembly: Which Is Better?
- FAQs
- Conclusion
What Paint Should You Use on Miniature Furniture?
When it comes to painting miniature furniture, there are countless choices of paint you can make use of. If you are new to painting miniatures, the table below will tell you everything you need to know about selecting a paint for your miniatures.
Swipe left to view the full comparison.
| Paint type | Best for | Main benefit | Important caution |
|---|---|---|---|
| Acrylic paint | Wood, MDF, plastic, resin | Easy to use and dries quickly | Thick coats can hide details |
| Enamel paint | Durable miniature surfaces | Hard, durable finish | Takes longer to dry and needs careful cleanup |
| Chalk paint | Distressed or vintage finishes | Creates a soft, matte appearance | Can look too thick on tiny details |
| Spray paint | Large, smooth miniature parts | Gives fast, even coverage | Can easily overspray small pieces |
If you are painting miniature furniture for the first time, start with acrylics. They give you more control and make it easier to correct mistakes.
Supplies You Will Need
Before you start painting, it is very important that you gather everything you need and keep it nearby. Having your supplies ready helps you work without touching wet paint or rushing between steps. Here are some supplies that you must have at hand:
- Miniature furniture: Choose clean, paintable miniature furniture or parts made from materials such as wood, MDF, resin, or plastic..
- Acrylic paint: Water-based acrylic is suitable for most mini projects as it dries rapidly and is easy to control.
- Primer: Use a miniature, craft, or suitable surface primer to help paint adhere and create an even base.
- Fine paintbrushes: Keep several sizes. A small flat brush works well for larger surfaces, while a fine round brush helps with edges and details.
- Water container: Use water to thin water-based paint and rinse brushes.
- Palette: A ceramic tile, plastic palette, or a surface to use as a temporary mixing and thinning space.
- Fine-grit sandpaper: Smooth rough surfaces and gently clean up small imperfections.
- Paper towel or cloth: Keep a paper towel or cloth handy to clean the brush and remove excess paint or water.
- Masking tape: This is used to cover places that you do not want painted.
- Clear sealer: It protects the surface with a suitable topcoat of matte, satin, or gloss.
Prepare the Furniture for Painting

Photo by Tomasz_Mikolajczyk on Pixabay
A clean, smooth surface makes painting much easier. Before you start, check each piece of furniture for dust, loose parts, glue residue, rough edges, or visible seams. Remove dust with a soft, dry brush or cloth. If the piece needs cleaning, use a method suitable for the material, and let it dry completely.
If you find rough areas, lightly sand them with fine-grit sandpaper. Work gently because miniature parts are small and can lose their shape easily. Pay close attention to edges and other visible surfaces.
Next, decide which parts you want to paint before assembly. Areas behind legs, under shelves, or between decorative details can be hard to reach once the furniture is assembled. Painting these areas first can give you better coverage.
If your miniature furniture is already painted or finished, you may not need to repaint the entire piece. Decide whether you want to change the color, add painted details, or simply touch up certain areas. Before repainting, check the material, choose a suitable paint, and test it on a small, hidden area first.
If primer is needed, apply a thin, even coat and let it dry completely before painting. Primer can improve paint adhesion and create a more consistent base on some porous or smooth surfaces. It can also help when changing from a dark base color to a lighter finish. However, it should not be used to cover rough spots or other defects. Fix those problems before applying primer.
Finally, set up your furniture on a clean, protected work surface. Keep your paint, brushes, water, and reference images within easy reach.
How to Paint Miniature Furniture Step by Step
The first error people make is approaching painting at random. That can lead to many imperfections, and the final result may fall far short of what you want. Here are some steps you can follow to get the best paint result:
Step 1: Choose your color scheme
Before breaking open the paint, choose the primary color, secondary color, and any details. Consider the space the furniture will be used in so the piece looks intentional.
Step 2: Thin your paint
A thin coat of acrylic paint may be more effective than a single thick coat. Add a small amount of water to your palette and mix gradually. Look for paint that doesn't run off the brush but isn't watered down.
Step 3: Paint the largest surfaces first
Load your brush lightly and apply a thin coat using controlled strokes. Follow the shape of the furniture instead of repeatedly brushing the same wet area.
Step 4: Let the first coat dry
Wait until the paint is dry to make any color judgments. Let the coat dry before deciding whether you need another layer.
Step 5: Build coverage with additional coats
If needed, apply two or more thin coats. This typically gives a smoother finish, as several layers often work better than one thick layer.
Step 6: Paint the details
Once the main color is dry, add handles, trim, legs, cushions, edges, or decorative patterns. Use a smaller brush for small areas, and keep your handrest on the work surface.
Step 7: Add depth
When using a darker shade, shade recessed areas or under edges to create subtle shadows. You can also dry-brush a lighter shade over raised details for a worn or highlighted effect.
Step 8: Check the whole piece
Consider the furniture from various perspectives. After the paint dries, repaint only areas with missed coverage or paint that isn't smooth or fully opaque.
Step 9: Seal the finish
Once all layers are completely dry, you can apply a suitable clear sealer if you want additional protection or a specific matte, satin, or gloss finish.
How to Create Popular Miniature Furniture Finishes
The finish you choose can completely change the look of your miniature furniture. You don't need complicated techniques to create beautiful results. With a few simple painting methods, you can give your furniture a clean, aged, rustic, or glossy appearance.
A clean painted finish is a good choice when you want your furniture to look fresh and modern. Start with your base color and apply thin, even coats. Let each coat dry before applying the next. Keep the final coat smooth and avoid adding texture. This finish works especially well in contemporary miniature rooms.
If you prefer a worn, lived-in look, try a distressed finish. Paint your base color and let it dry completely before adding a second color. Once the paint has dried, lightly sand the edges to reveal some of the color underneath. Focus on corners, handles, and other areas that would naturally show signs of use. Keep the wear controlled so the furniture looks aged, not randomly scratched.
You can also make your furniture look like natural wood. Start with a warm brown or another wood-inspired color. Then use a fine brush to add a darker shade in long, uneven strokes. Follow the furniture's direction and shape as you work. Leave some of the base color visible to give the surface more depth and prevent it from looking flat.
An antique finish gives your miniature furniture a darker, aged appearance. Start with a muted base color and let it dry completely. Then use a darker shade around recessed areas, edges, and decorative details. Apply the darker paint lightly so you can build the effect gradually. If you add too much, soften the color with a clean, slightly damp brush before it dries.
Whitewashing is another simple way to create an aged look. Thin your white or off-white paint and brush a light coat over a wood-toned base. Don't try to cover the entire surface. Let some of the color underneath show through. This gives the furniture a soft, weathered appearance while keeping the wood effect and small details visible.
Finally, you can add a glossy finish if you want your furniture to have a polished appearance. Once the paint has dried completely, apply a gloss sealer that is suitable for the material. Use a thin coat, and be careful around small details, where excess sealer can collect.
How to Avoid Brush Marks and Thick Paint
Brush marks and thick paint can leave your miniature furniture looking uneven. They often happen when you use too much paint, press the brush too hard, or keep brushing an area while the paint is still wet. You can avoid most of these problems by using less paint and working in thin layers.

Photo by danielkirsch on Pixabay
Before you start, check whether your acrylic paint actually needs thinning. Some paints work well straight from the bottle, while thicker formulas may benefit from a small amount of water or an appropriate acrylic medium. Test the consistency on a hidden area first.
Load your brush with a small amount of paint, then remove the excess on your palette. Apply the paint with smooth, controlled strokes. Once you've covered an area, leave it alone until it dries. Repeatedly brushing wet paint can leave visible marks.
Don't worry if your first coat looks uneven. Let it dry completely, then add another thin coat. Several light coats usually give you a smoother finish. Choose your brush size based on the area you're painting. Use a larger, soft brush for flat surfaces and a fine brush for small details.
Common Mistakes and How to Fix Them
Even careful painters can make mistakes when painting miniature furniture. Most problems are easy to fix, so don't worry if the first coat doesn't look perfect.
- Applying paint too thickly
Too much paint can cover small details and leave ridges on the surface. Let the paint dry completely, then lightly smooth the area if needed. Use thinner coats when you repaint it.
- Skipping surface preparation
Dust, grease, glue residue, and rough areas can affect the final finish. Clean the piece, smooth any rough spots, and use primer if the material needs it before repainting.
- Painting over wet paint
Going back over wet paint can create streaks, lumps, and uneven color. Stop painting and let the area dry completely. You can add another thin coat once it's ready.
- Using the wrong brush
A stiff or oversized brush can make small details difficult to paint. A tiny brush can also leave streaks on large surfaces. Choose a brush that suits the area you're painting.
- Rushing the drying time
Handling furniture too soon can leave fingerprints, dents, or smudges. Follow the paint manufacturer's drying instructions and consider the room temperature and humidity.
Note: If something goes wrong, fix one problem at a time. A little sanding, repainting, or touch-up work can often restore the finish without starting over.
Painting Before or After Assembly: Which Is Better?
The furniture and the finish you desire will determine whether to paint first or last. Sometimes, painting the separate pieces first gives you better access to corners, undersides, joints, and other hard-to-reach areas.
This doesn't mean you should paint every part before assembly. Some joints require clean, unpainted surfaces for the glue to bond properly. Heavy paint on connecting points can also cause poor fit.
If you have detailed pieces, paint the parts you can't reach before assembly, then assemble the furniture, then finish the visible parts and touch up the hard-to-reach pieces. Follow the manufacturer's assembly instructions when available. This will enable you to get more coverage without causing unnecessary issues during construction.
FAQs
How to paint miniature furniture for beginners?
Start by cleaning and lightly sanding the furniture. When needed, prime the surface and apply thin layers of acrylic paint with the appropriate brush. Let each coat dry before adding another. Add details and a clear sealer if you need extra protection.
What happens if you paint a miniature without primer?
Coverage and durability can suffer; paint may still stick, especially on a good surface. Some porous materials absorb paint differently than others, and smooth surfaces can be more challenging to adhere to. Primer can provide a more consistent base.
Can any acrylic paint be used for miniatures?
Not all acrylic paints behave the same way. Craft acrylics can work well, but thicker paints may obscure fine details. Acrylic paints formulated for miniatures are often better suited to thin, controlled layers and fine-detail work.
Which colors are used in miniature painting?
Almost any color can work. Typical colors are white, cream, beige, brown, black, green, blue, red, and pastels. Match your furniture choices to the room you are creating.
Conclusion
Miniature furnishings don't have to be flawless in order to be convincing. Color, texture, and wear can make a piece feel like it's in a real room, even if it's not exactly the same. That is part of the appeal of miniature spaces.
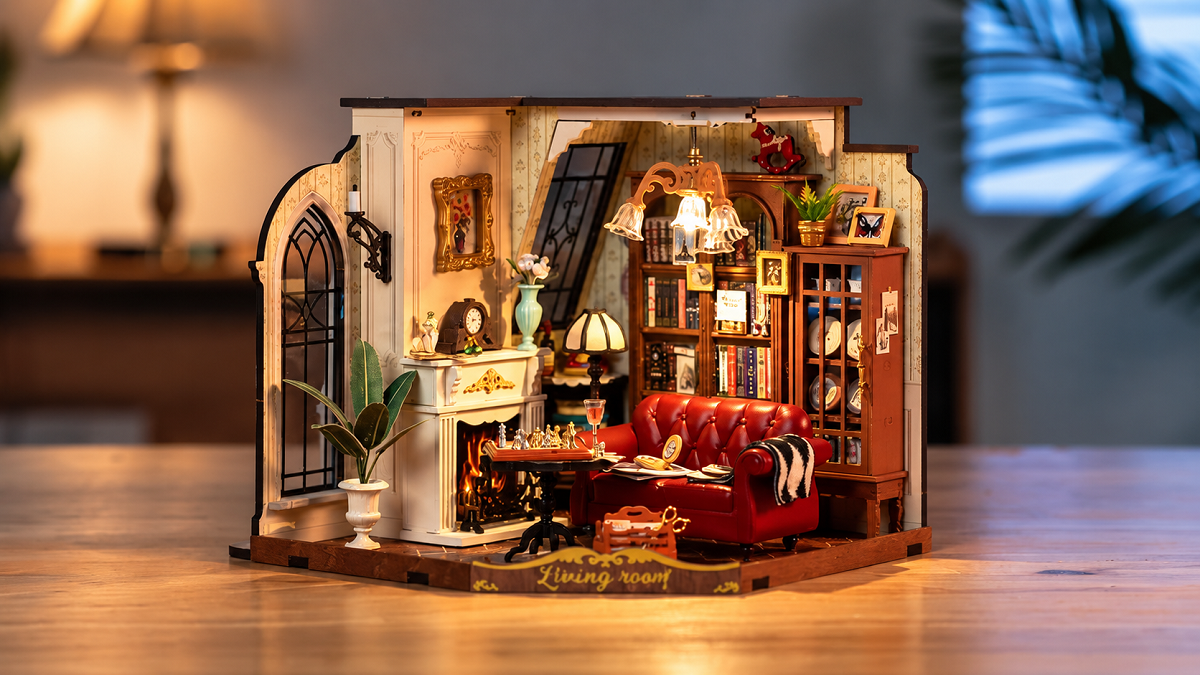
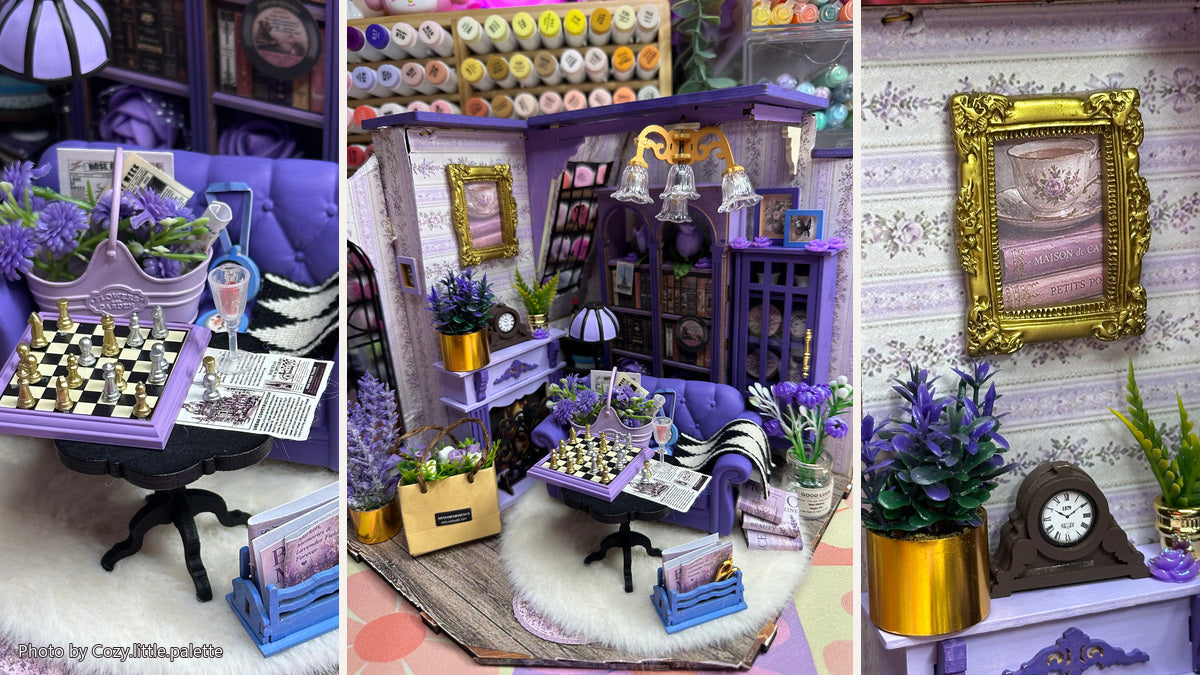
If you’re new to miniature kit building and want an easy way to get started, Rolife’s miniature room kits are a great place to begin. The kits come with detailed, pre-colored pieces, so you can enjoy the building process as designed—or add your own painted details and custom touches if you want to make the finished space more personal.
Robotime is a creative lifestyle company dedicated to designing and developing 3D puzzles, toys, and wooden handicrafts. Subscribe to learn more.
Enjoy Robotime building guides and creative inspiration?
Add Robotime as a Preferred Source on Google to see more of our latest stories in Search.
 Add Robotime to your Preferred Sources



Leave a comment
This site is protected by hCaptcha and the hCaptcha Privacy Policy and Terms of Service apply.