
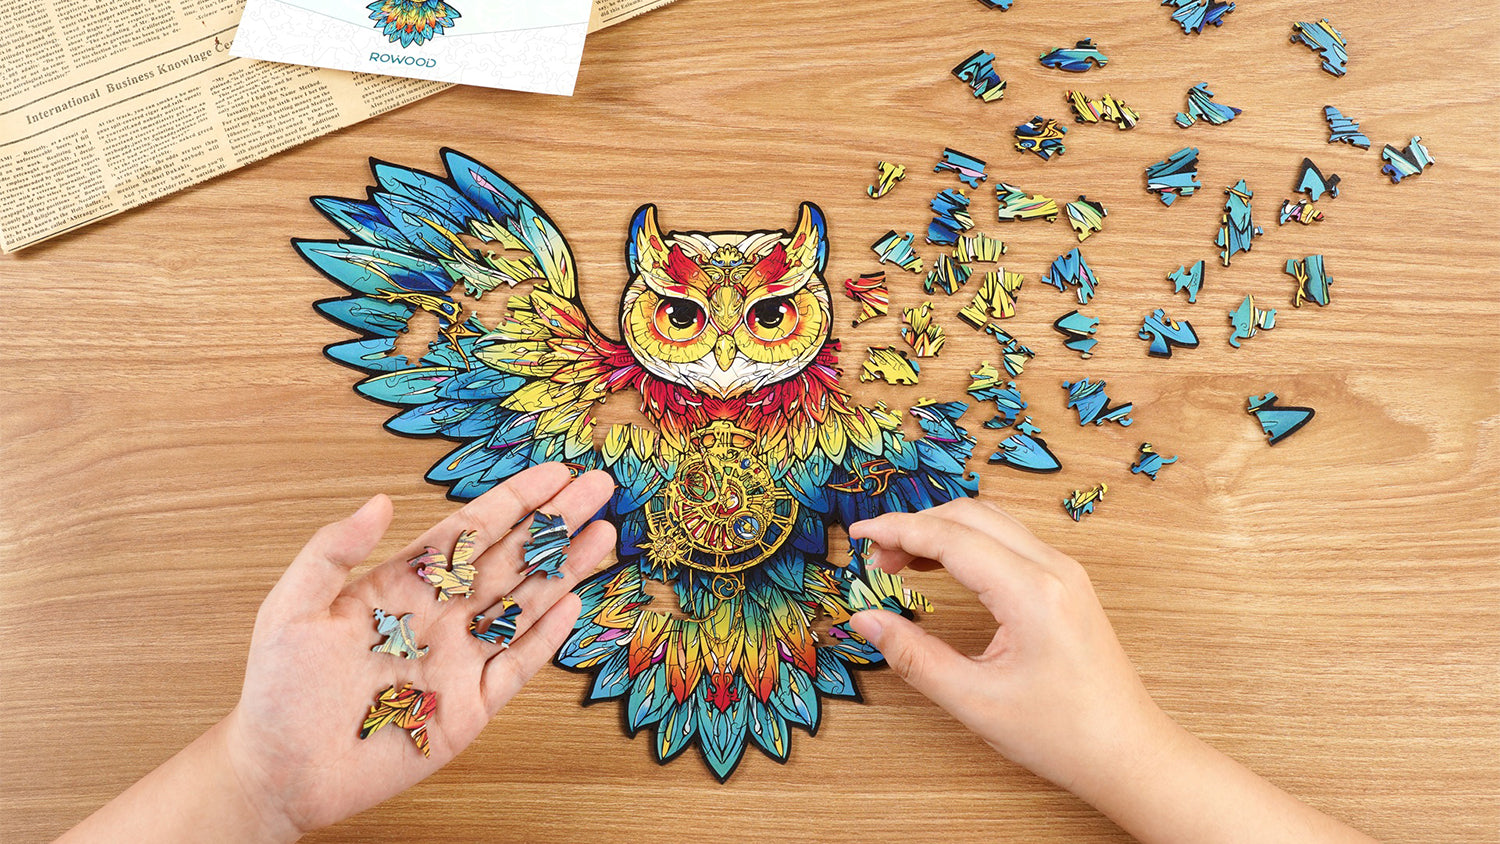
You have taken hours, maybe days, to put together your favorite jigsaw puzzle. Once you have completed it, the question you may ask yourself is, how do I preserve this piece so that it can last long?
If you don't want to reassemble it, or you want to frame it. Gluing a puzzle together is one of the most thoughtful ways to keep it as a treasure. Moreover, you’ll need it in one piece for decoration, memory, or gift-giving purposes.
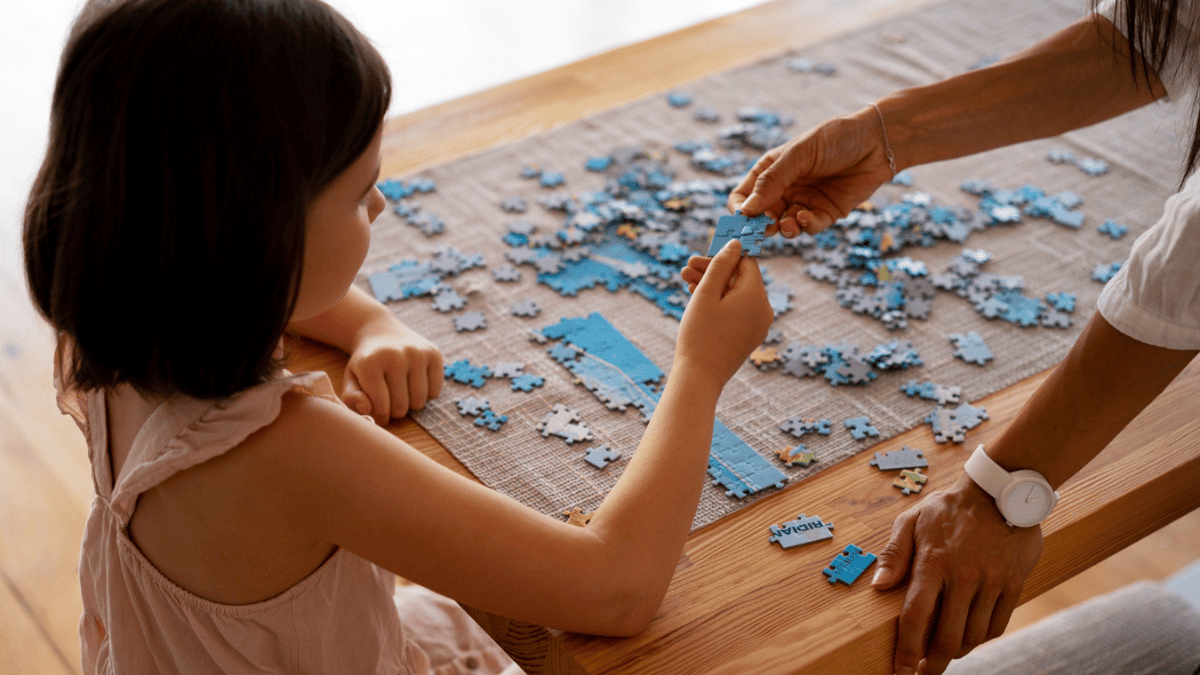
Read on to learn more about how to glue and preserve your puzzle.
Materials You May Need
Before you think of gluing your puzzle, you’ll need to gather the right materials to finish the job. You’ll need a few basic supplies to help you do this.
Puzzle Glue: A puzzle glue is specifically designed for jigsaw puzzles. It dries clear and strong and is specially formulated so that neither flake nor cloud will damage the piece. A popular puzzle glue is Mod Podge, which you can easily get. Other brands like Masterpieces Puzzle Glue or Loctite Puzzle Glue can also work.
Adhesive Sheets:If you do not want to use a liquid glue, you can use adhesive sheets. Peel-and-stick puzzle saver sheets can hold your puzzle pieces together.
Clear Packing Tape:This is an affordable glue option that provides temporary preservation for your puzzle.
Cardboard or foam board: This is needed to give back support to your pieces and to enable flipping.
Tools: Additional tools you’ll need include brush or foam applicators and a sponge. Rollers and wax or parchment paper are also needed for smoothing and surface protection. You may also need books or clothes for weight, for this is optional.
How to Glue Your Puzzle Together
Method 1: Using Glue
The puzzle glue is a clear adhesive liquid that provides your puzzle with a beautiful finish. Follow these steps to glue your puzzle:
Step 1: Place a wax or parchment paper under your puzzle to protect the surface.
Step 2: When applying glue, start at the front, from the center. Apply the glue on the board using a brush or foam applicator, spreading it evenly and farther outwards.
*Make sure to use a generous amount and make sure that it gets into all of the cracks.

Photo by Wolfgang_Haney
Step 3: As you wait for the puzzle to dry, gently move your puzzle piece around on the wax paper.
Step 4: Allow it to dry completely so the pieces won’t fall off when you’re moving it.
Step 5: For added strength, flip the puzzle and glue the back as well. Do not apply too much glue, as it may seep under your puzzle and mess up the front.

Photo by Wolfgang_Haney
Pros:
Creates a beautiful, glossy finish.
It is long-lasting and ideal for framing or hanging.
Easily accessible.
Cons:
It can be messy or warped if you overapply it.
Requires drying time.
Might leave residual tackle.
Method 2: Using Peel & Stick Puzzle Saver Sheets

Adhesive sheets stick directly to the back of the puzzle without liquid glue. Follow the steps to use this method:
Step 1: Flip your puzzle using two large cardboard sheets. Slide one cardboard under the puzzle, place the second one on top, and flip carefully.
Step 2: Peel the protective layer from the adhesive sheets to expose the side that will glue your puzzle.
Step 3: Apply the sheets to the back of the puzzle and press firmly.
Step 4: Cut any excess off with scissors.
Step 4: Smooth out air bubbles for an even application. You can use an old credit card or its equivalent to do this.
Step 5: Continue placing many adhesive sheets until all the pieces of the puzzle are covered.
Pros:
No mess compared to liquid glue.
Fast and easy application for beginners
Suitable for framing
Great for smaller puzzles (those with 500-piece puzzles)
Cons:
Less durable than glue.
Not easy for complex puzzles (those with a 1000-piece puzzle)
Not ideal for humid environments
May not suit textured puzzles
Method 3: Using Tape
Clear packing tape can be applied to the back of your puzzle to hold the pieces together. Here’s how you can do it:
Step 1: Cut your cardboard or foam board.
Step 2: Using two pieces, slide one piece to the back of the puzzle and place the other on the top.
Step 3: Carefully flip the puzzle.
Step 4: Apply strips of clear tape across the back of the puzzle. Let it overlap slightly.
Step 5: Use a utility knife to trim excess tape around the edges for a professional look.
Pros:
It is budget-friendly and easily accessible.
It is quick and easy.
Cons:
Not ideal for display or framing.
Not as durable as glue or adhesive sheets.
It may peel over time.
It doesn’t protect the front of your puzzle.
Choosing the Best Method For You
Thinking of which method to use for your next puzzle project? Here’s a quick comparison table to help you decide:
| Method | Durability | Difficulty | Best For | Downsides |
| Puzzle Glue | High | Moderate | Framing and long term preservation | Can be messy and needs drying time |
| Adhesive Sheets | Medium | Easy | Quick preservation and framing | Hard on large puzzle pieces |
| Tape | Low | Easy | Temporary preservation | Not ideal for framing |
Extra Tips for Preserving and Displaying Your Puzzle
Use Cardboard or Foam Board: To ensure that your puzzle is stable, you should put it on a firm backing such as cardboard or foam board.
Frame Your Puzzle: You can make your masterpiece a wall decoration using a frame. To avoid shifting, select a frame corresponding to the size of your puzzle.
Proper Storage:Leave your puzzle in a regulated condition that cannot be exposed to direct sunlight or humidity. They should be kept in a cool, dry place to avoid warping. Keep your puzzle away from dust and bugs, too.
Rotate Display: Sunlight can fade away your puzzle. Whether you’re framing your puzzle or not, change spots to rotate the display and maintain its fine look.
Conclusion
You have now discovered the right way to glue and preserve your puzzle like a professional. Whichever method you choose, gluing your puzzle is a way to honor your time, memories, and creativity. So, the next time you finish a Robotime jigsaw puzzle, glue it, hang it, and give it the spotlight it deserves.

Micheal Irhezaen
Michael is a Technical Writer who uses his extensive expertise to bring structure, clarity, and goal-oriented thinking to Robotime’s community.
Robotime is a creative lifestyle company dedicated to designing and developing 3D puzzles, toys, and wooden handicrafts. Subscribe to learn more.
Micheal Irhezaen
Michael is a Technical Writer who uses his extensive expertise to bring structure, clarity, and goal-oriented thinking to Robotime’s community.


Leave a comment
This site is protected by hCaptcha and the hCaptcha Privacy Policy and Terms of Service apply.