Before embarking on your first miniature house project, it can be beneficial to prepare some tools in advance as it can make your crafting process smoother. This is a common challenge that many people encounter when making miniature houses, which is why we believe it is essential to write an article about it.
Robotime kits already come with the tools you’ll need to complete it. However, if you want a smoother assembly experience, it’s always a great idea to have your own tools. Note that you don’t have to get all these right away. We’ve divided these tools from the basics to tools that you won’t always need but are useful to have on hand.

Must-Have Tools
These are the basic tools that all miniature hobbyists should have.
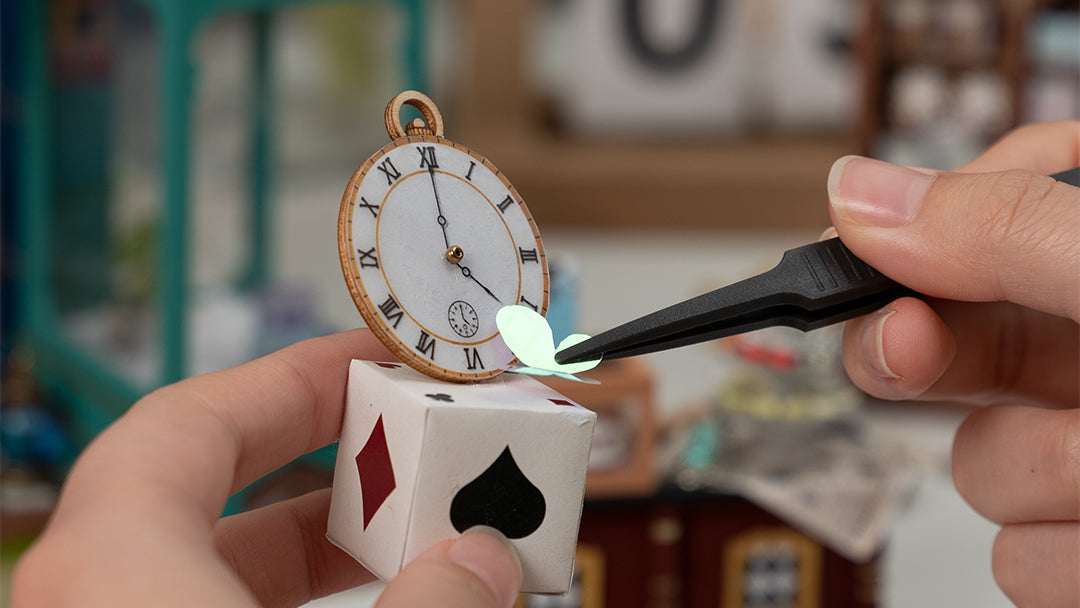
- Tweezers- Since you’ll be working with small parts, you’ll need a pair of tweezers for easier handling and placement.
- Sharp Scissors- A pair of scissors with razor-sharp blades is a must for cutting materials. Sewing scissors are great for paper and fabric while high-precision scissors will do the trick when cutting tougher materials and trimming decals.
- Work Mat- With a silicone or rubber work mat, you won’t have to worry about scratching or making your table dirty. Plus, the grippy material will prevent you from slipping and accidentally cutting yourself.
- Glue- We recommend having your own wood glue and plastic glue ready, depending on what type you often work with. Because of customs policy, sometimes we can’t include glue in our miniature house kits if you have a fine-tip glue bottle, even better, so you can put just the right amount of glue right where you want it. Here are some tips that will let you know how to choose the best glue for miniature houses.
- X-Acto Knife- Tiny parts mean tiny cuts. This is where an X-Acto knife will come in handy.
- Clamps- Clamps will keep your parts in place while the glue is still drying. Bar clamps are perfect for bigger accessories while spring clamps are enough for the small pieces.
- Pigments- Just like with glue, sometimes we can’t include paint in our kits due to customs policy. Plus, you might want to use a different color palette and shade than the ones we’ve included. Acrylic paint is a go-to for miniaturists since they’re easy to get, dries quickly, and can be thinned down with water if needed. For more about acrylic paints for miniatures, please visit How to Use Acrylic Paints on Models and Miniatures.
- Paint Brushes- You’ll need at least two sizes of brushes to paint your miniatures. Larger ones for wider areas and a fine brush for small details.
Optional Tools
The following tools aren’t always needed but are great to have just in case.
- Sandpaper and Files - You can use sandpaper to clean up the edges of the wooden pieces. They also come in handy when you need to sand the pieces ever so slightly just so they fit perfectly.
- Squares - You’ll need a small engineer’s square when you’re working on square corners. It will help you align and mark the pieces so they’re a true square after cutting. To give you an idea of its application, a true square means that doors won’t have gaps and will close properly.
- Screwdriver- Some miniature houses have screws in some places for a stronger hold. In this case, you’ll need a pocket screwdriver. To save space, there are screwdriver sets where you just replace the tip according to the size and shape that you need.
- Soldering Iron- If your miniature house has electrical parts, you’ll need a soldering iron to create stronger, permanent connections. While twisting wires together will work, they will oxidize over time and lose electrical connection.
- Scraper- A small scraper is useful for removing excess glue and paint. You can also use it to apply light and even pressure to glue paper on a flat surface without any bubbles.
- Needle-nose Pliers- You can use this to hold delicate parts in place while you’re gluing or soldering them. It’s also a lifesaver when you need to bend small parts in a certain way.
- Craft and Carving Knives- Whether you need to make marks on the wood or cut thinner pieces, craft knives will come in handy. Meanwhile, just as its name implies, carving knives are used for carving intricate details in the wood. There are space-saving knife holders where you just replace the tip depending on the blade you need.
Hand Tools and Power Tools
These are the tools that you’ll need if you’re planning to make your own miniature houses and models.
- Razor Saw and Miter Box- A fine-toothed razor saw is your best friend when it comes to making straight cuts and veneers. With a miter box, you can even create several pieces of wood of the same length, making it ideal for table legs. Just make sure that the razor saw you picked fits your miter box in terms of depth.
- Fret Saw- A fret saw is a multi-purpose tool that you can use for small or irregular-shaped parts. It’s also a good alternative to a router or jigsaw when you need to cut openings for your doors and windows.
- Miniature Drill- You’ll need this to drill holes into your miniatures. Depending on the scale you work with, you can either go for a mini drill, like a push drill, or a larger electric drill that accepts larger bits for larger holes.
- Jeweler’s Saw- Whenever you need to cut curves, you can rely on a jeweler’s saw or piercing saw to do the job. The size of your saw will depend on the scale you work with, as long as it is big enough to cut through the center of your largest pieces. The blades break easily so make sure to buy some extras. You’ll also need a bench pin clamp that you can attach to your workbench while using the jeweler’s saw to work on your parts.
- Miniature Chisels- Use these to cut clean lines, clean out cuts, or create engravings on your wooden pieces.
- Orbital Sander- If you need to smooth a lot of surfaces without taking too much time, you can get a mini orbital sander to help you.
- Adjustable Protractor- An adjustable protractor is very helpful when marking and checking different angles like the roof. You’ll also use it to set the guide on your miter as well as the tilt on your mini saw.
Final Words
There you have it, the different tools you’ll need to make miniature houses. Beginners should focus on the must-have tools before gradually moving on to the optional tools. Once you decide that you’re ready to venture into making your own miniature houses from scratch, you can invest in the rest of the hand tools and power tools that we’ve included in the list.
Robotime is a creative lifestyle company dedicated to designing and developing 3D puzzles, toys, and wooden handicrafts. Subscribe to learn more.






Leave a comment
This site is protected by hCaptcha and the hCaptcha Privacy Policy and Terms of Service apply.