
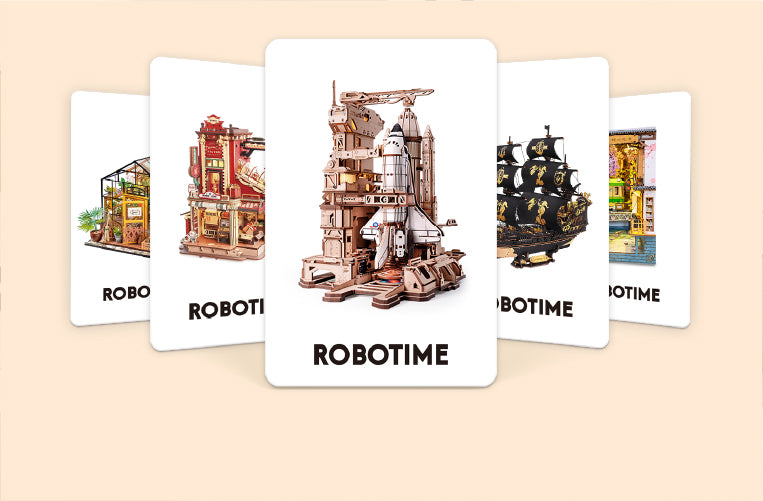


Congratulations on unboxing your very first ROKR model!
But before you start punching out the laser-cut pieces like an overly excited child, make sure you have the right assembly tools to assist.
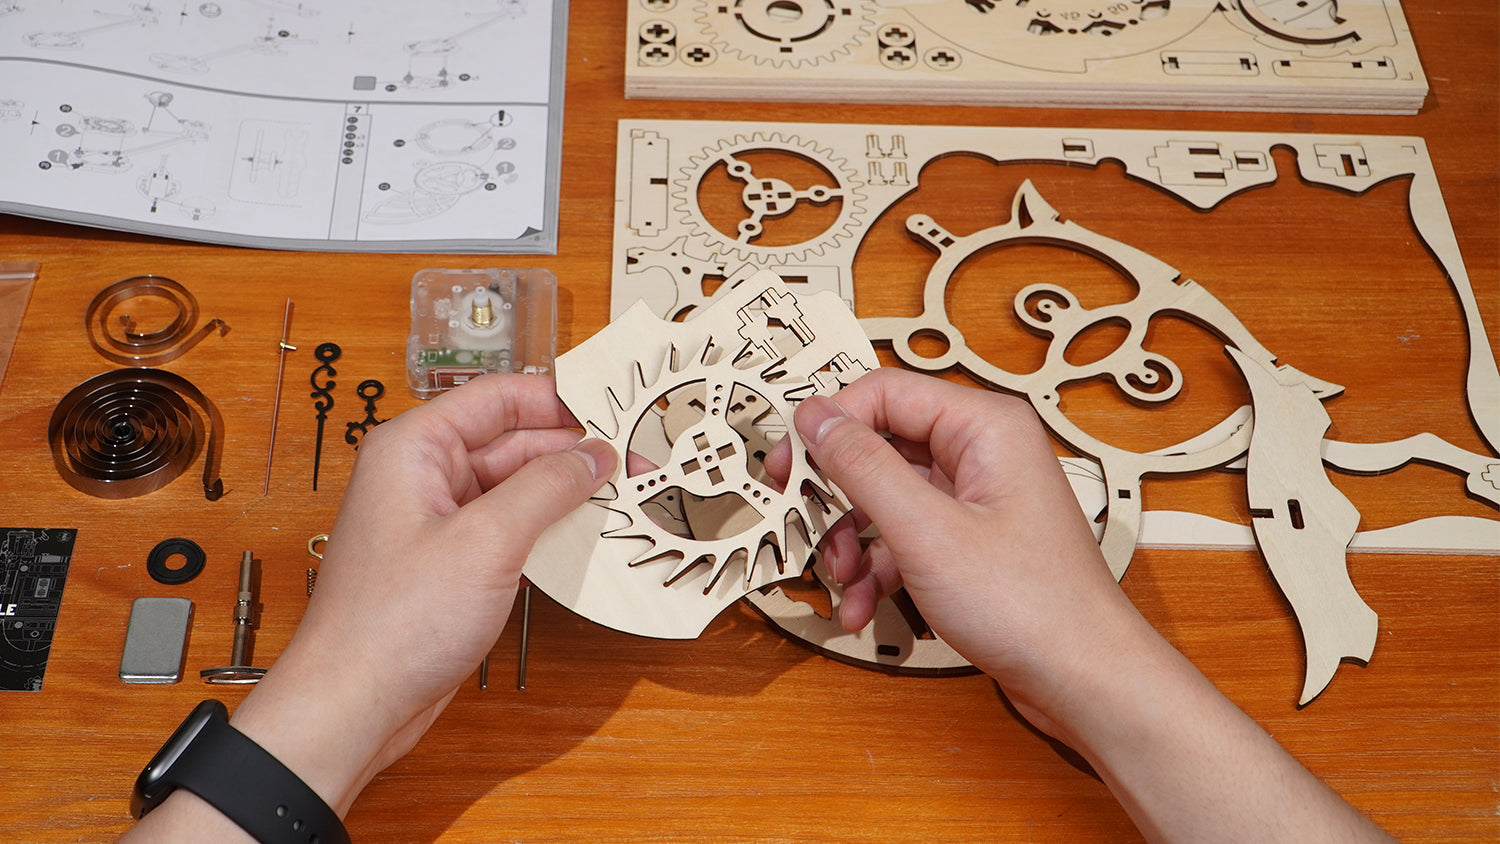
These ROKR kits, specifically the Mechanical Models Collection, are intricately designed. The precision-cut pieces, mechanics, and other details all look intriguing, but they can test your patience. One little missing part or gear can have you hitting the wall.
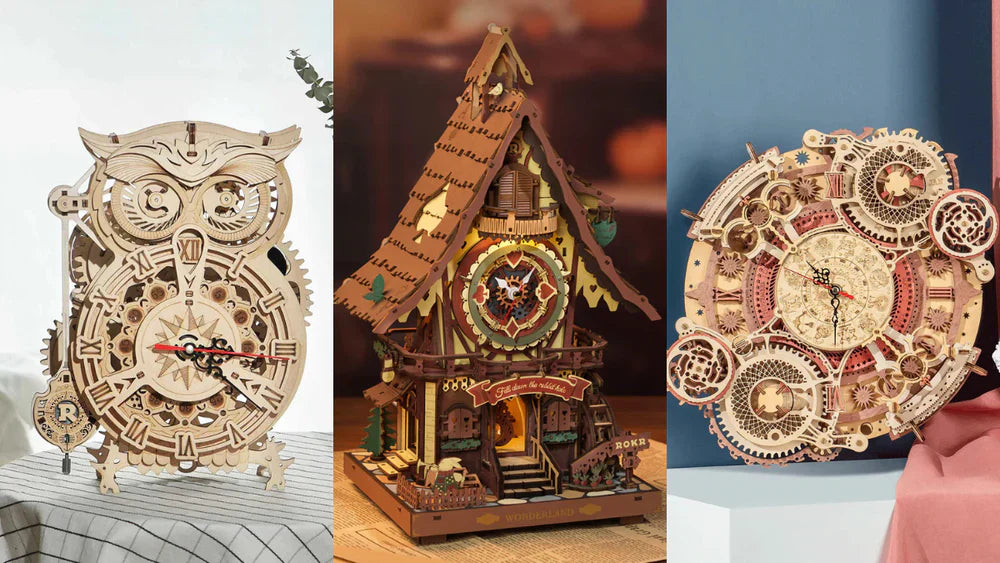
So if you want to get the full experience of assembling the kits, you need to be prepared. Whether it's your ROKR Magic Piano or ROKR Owl Mechanical Clock, if you have the right tools ready, your first building experience will be all the more fun.
What's Already Inside Your ROKR Box
One of the best things about the ROKR series is that each kit comes packed with most of the essentials you will need for building.
In most of the ROKR boxes, you'll find:
- Pre-cut Wooden Sheets: These are laser cut for precision and can be easily popped out by applying extra force.
- Sandpaper: The kits also include a piece of sandpaper to smooth out the rough edges in case the parts don't fit.
- A Small Stick: Many of these ROKR boxes also have a small tool or stick to press the smaller parts into place. It can also be used to apply the wax.
- Instruction Manual: This is your step-by-step beginner ROKR guide to what goes where and how to use all that is included in the kit. Make sure to read the instruction booklet very carefully before you begin assembling, since a quick go through will save you a lot of time and effort later.
While the items in the box are enough to complete the assembly, having a few extra tools on hand can make the process smoother and more enjoyable. Keep reading for our detailed recommendations.
Essential Tools to Prepare
Now, let's take a look at the basic ROKR assembly tools you need and how you use them for your ROKR assembly.
Craft Knife / Hobby Knife

Use a craft knife to cut the connection points of the parts
A craft knife is a precision cutting tool. When you have to remove the very small laser-cut wooden pieces from the sheets, use the knife.
When cutting, you'll notice that each piece is attached to the sheet by a few small connection points. Simply use a craft knife to gently cut along these points, and the part will come off easily.
Sandpaper or Mini File

Use sandpaper to smooth the edges of parts
The sandpaper helps keep the edges smooth and also cleans the little burrs. A little sanding goes a long way. Done right, the joints will fit in snugly together without needing force.
The best is to use a 400 to 600 grit for smoothing.
Most ROKR kits come with a small sandpaper sheet, which is enough for the assembly process. If possible, you can also use a file instead; it's more durable and can be used multiple times.
Toothpick or Wooden Stick
The toothpick is used to apply the wax or a small amount of lubricant into the gear holes or pivot. Use the toothpick to transfer a very small amount into the hole along the teeth of the gear. Give it a few spins to distribute the wax all over to reduce friction.
If you're not sure which parts need lubrication, check the instructions for guidance.
Tweezers or Small Pliers
The tweezers will help you pick up and place the tiny parts of the assembly, like pins, metal balls, or springs.
Ruler and Mini Hammer (Optional)
The ruler is used to keep things in alignment. Then there's also the mini hammer or mallet that presses the joints tightly.
Although most parts click easily using your hands, a few require an extra nudge. But make sure to cover the hammer head with a piece of cloth to avoid damaging the pieces.
Spare Wax or Candle

Use wax to lubricate gears
Wax acts as a lubricant for the wooden mechanisms to move and turn. So, if the gears are making noise, just take a small block of beeswax or paraffin (or a plain candle) and apply it carefully along the gears.
Helpful Optional Robotime Building Tools
Even if you have all the key tools, it's always great to have a few extra ones handy, too.
- Small Screwdriver: These are precision screwdrivers that save a lot of fumbling when trying to put the screws together.
- Magnifying Glass or Small Desk Lamp: You'll need a magnifying glass or a bright, adjustable lamp to see the detailed parts while working on the puzzle.
- Glue: Use it very sparingly, only for repairs; most ROKR kits can fit nicely together without it.

- Air Blower or Soft Brush: You might see a thin layer of dust on the wooden puzzle setup, which can make the gears harder to turn. Use a soft brush or air blower to gently blow away this debris.
- Organizer Box or Tray: Since you have hundreds of tiny pieces to work with, an organizer box or tray can help keep things orderly without getting mixed up.
- Battery or Type-C Power Cable: You’ll notice that some ROKR kits now incorporate electrical components that require power to operate. You can check the product page to see whether a power source is needed and which type it uses.
- Painting Tools: You may have seen some users painting their ROKR puzzles to create a personalized model. According to our community experts, acrylic paints and brushes are recommended for this purpose.
Now, to wrap things up—when assembling your ROKR kit, you’ll need not only the tools included in the box but also a few additional ones to assist you:
| Tool Name | Main Function | When to Use | Tips & Notes |
|---|---|---|---|
| Sandpaper / Mini File | Smooths rough edges and burrs | When parts don’t fit snugly | Use 400–600 grit; sand lightly for a better fit |
| Craft Knife / Hobby Knife | Cuts small connection points | To remove delicate or tight pieces | Cut gently along joints to avoid damage |
| Toothpick / Wooden Stick | Applies wax or lubricant | On gears and moving parts | Use sparingly; spin gears to spread evenly |
| Tweezers / Small Pliers | Holds and places tiny parts | For metal balls, pins, or springs | Avoid using fingers for very small or fragile parts |
| Mini Hammer / Mallet | Helps press tight joints | When hand pressure isn’t enough | Cover hammer head with a cloth to prevent dents |
| Ruler | Aligns and measures parts | For accurate placement | Ensures symmetry in assembly |
| Wax / Candle | Lubricates wooden gears | During gear or shaft installation | Beeswax or paraffin both work; reduces friction and noise |
| Small Screwdriver (Optional) | Tightens screws in models | For electric or mechanical kits | Precision screwdrivers are recommended |
| Magnifying Glass / Desk Lamp (Optional) | Improves visibility | For small or intricate details | A bright adjustable light prevents eye strain |
| Glue (Optional) | Repairs broken parts | Only when parts break | Use sparingly; not required for standard assembly |
| Air Blower / Soft Brush (Optional) | Cleans dust and debris | During or after assembly | Helps gears run smoothly |
| Organizer Box / Tray (Optional) | Keeps parts sorted | Throughout the build | Prevents loss of tiny pieces |
| Battery / Type-C Power Cable (Optional) | Powers electronic kits | For models with LED or motor | Check product page for power type |
| Painting Tools (Acrylic Paints & Brushes) (Optional) | Adds color and personalization | After assembly or before sealing | Acrylic paints are easy to use and dry fast |
Set Up & Safety Tips Before You Start
Here's a little pre-building checklist to get the most out of the experience (and your sanity!)
- Use a clean, flat, and well-lit space without clutter, so you have everything you need in front of you without distraction.
- Use organizer boxes to keep the small parts safe from children and pets.
- Make sure you go through the instruction manual before you begin the assembly.
- Let's be real, building can get tiring. So, take short breaks in between before your back starts to hurt.
Lastly, never rush things; remember, the ROKR building is all about patience and creativity.
Common Beginner Mistakes
Now let's talk about some of the common beginner mistakes and how to avoid them.
- If a small part doesn't go in, don't ram it in. Just a bit of sanding should make it right.
- In our excitement to put things together, we often skip the wax. But gears may get jammed without it.
- Glue can feel like the ultimate fix for everything, but it is an unwelcome friend for the ROKR puzzles.
- Losing a piece can get frustrating. So always use the tray or organizer to keep things sorted beside you.
Where to Buy Extra Tools or Replacement Parts
Once you've moved past the beginner stage, you'll probably want to invest in better tools, extra wax, or even replacement parts. Let's be honest—these wooden puzzles can have their tricky moments. So, where can you find additional parts and tools?
For Replacement Parts
To avoid damage during assembly, handle the pieces carefully when removing them from the wooden sheets or fitting them together. If any parts do get damaged, you can always contact us to request replacements.
For Tools
Unfortunately, Robotime currently doesn't offer optional add-ons for tools, so you'll need to purchase them separately. Your local stores should have everything you need.
Conclusion
It's normal for the ROKR models to look intimidating in the beginning, but the further you get into it, the more inviting the game becomes. Then, as you complete your first ROKR project, your fingers are bound to itch for more.
So if you're already eyeing the next ROKR piece, check out Robotime for the complete range of ROKR models.
Don't forget to share your masterpiece on your socials and tag Robotime to show off your creative side.
Let your ROKR assembly tools do the talking and your head build the next ROKR marvel.

Iftikhar A.
Iftikhar A. is a devoted parent and Robotime enthusiast who shares hands-on STEM play ideas to inspire creative learning at home.
Robotime is a creative lifestyle company dedicated to designing and developing 3D puzzles, toys, and wooden handicrafts. Subscribe to learn more.
Iftikhar A.
Iftikhar A. is a devoted parent and Robotime enthusiast who shares hands-on STEM play ideas to inspire creative learning at home.


1 comment
Erg leuk om te maken.
Te laat ontdekt, jaren eerder moeten doen.
Cor evertse
Leave a comment
This site is protected by hCaptcha and the hCaptcha Privacy Policy and Terms of Service apply.