


How to Sand and Wax My 3D Wooden Puzzle?
Last time, we finished talking about "what tools you need to prepare before assembling". In this blog, we'll talk about how to use these tools correctly.
Please note: It is normal for the wax to be missing from the packaging. Because wax is classified as a hazardous material by airlines, it is not allowed to be used in packaging. For more information, read: Why are waxes and glues not included in our products?
Back to the topic, there are many people who toiled through a 3D wooden puzzle only to find it didn't work. That's because the sanding and waxing process wasn't done correctly. So what should be done? Let's tell you the reason.
Sanding
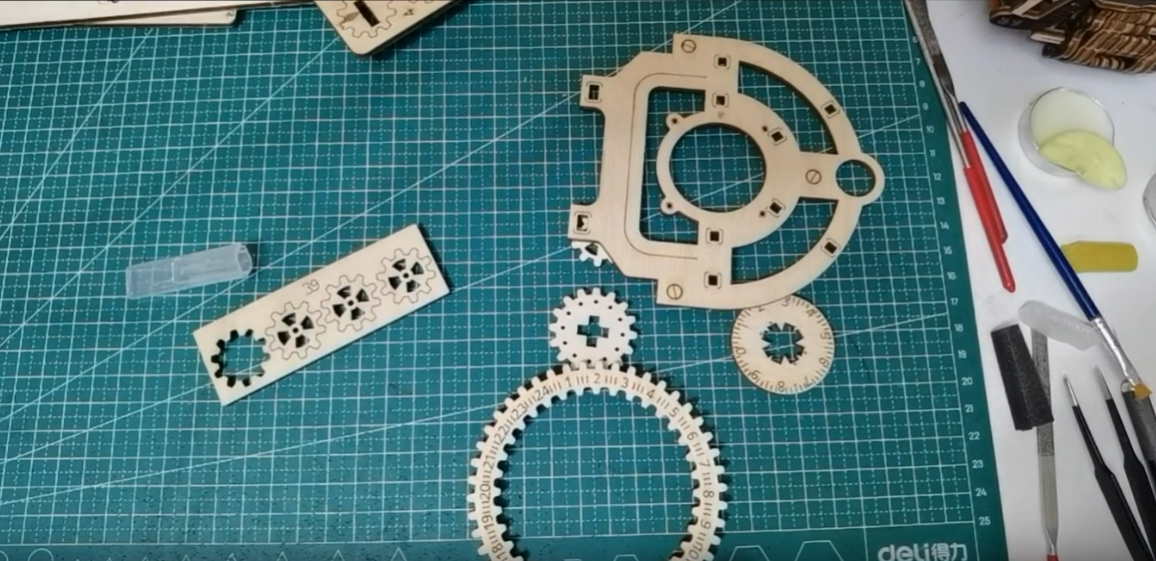
When you open our box, you get a full set of parts and a tools kit (Sandpaper is included in the kit, but wax is not included), and all parts are neatly arranged on a bunch of wooden boards. Each part is pre-cut by a laser, and you can easily punch them from the board.
When removing the parts, please handle them carefully to avoid damaging them. Although these components are relatively sturdy, remember that they are wood-made. Unlike steel, they require more cautious handling.
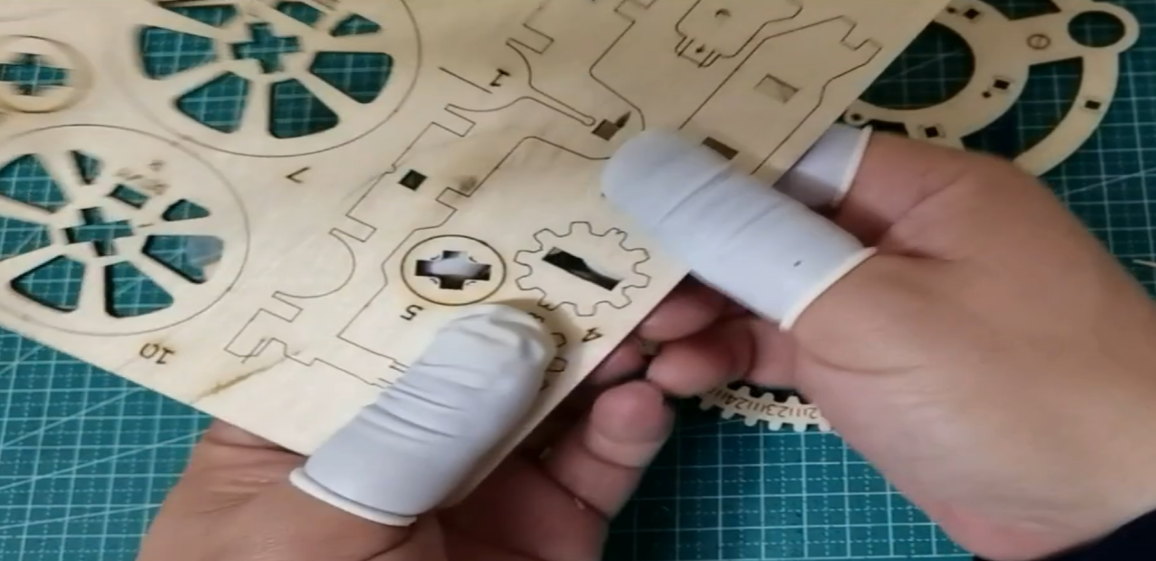
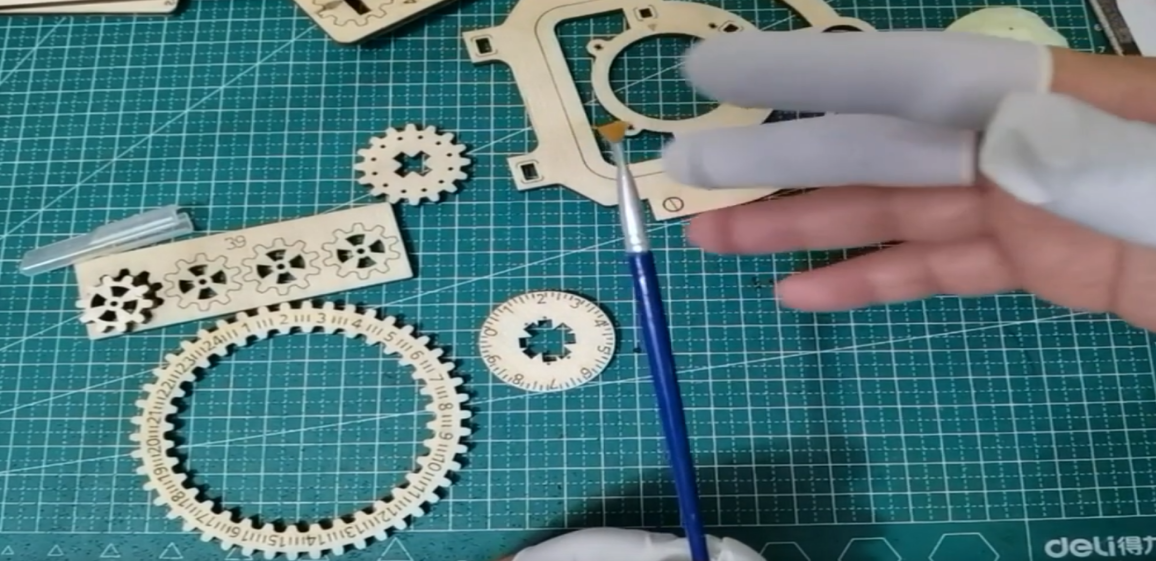
After removing the parts, you will find that each part has more or less some link points to connect it with the board.
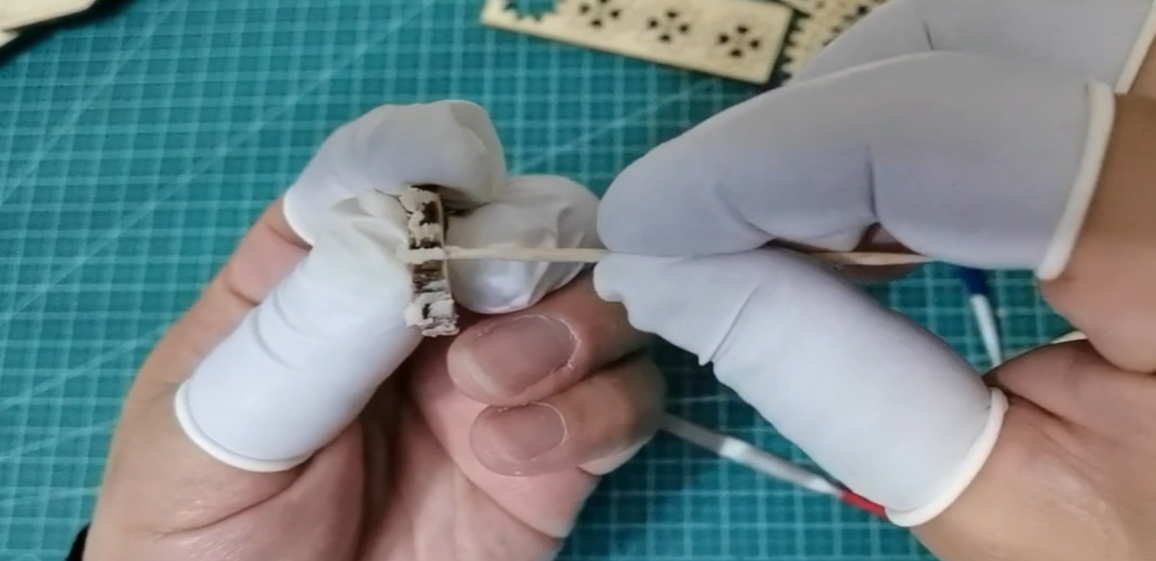
At this time, you need to use sandpaper or a file to polish off these link points to make the parts smooth.
If possible, you can prepare a square-end file and a round-end file. If you want to keep things simple, you can roll the sandpaper into a cylinder to sand the gear grooves. ROKR gears are usually larger, which means sanding and waxing is easier.
Now that the parts are all sanded, it's time to wax. Waxing allows the gears to act as a lubricant to reduce the resistance of the model during operation.
Waxing
ROKR's wooden kits run smoothly without wax, which not only reduces the friction generated when parts come into contact with each other. It also extends their service life.
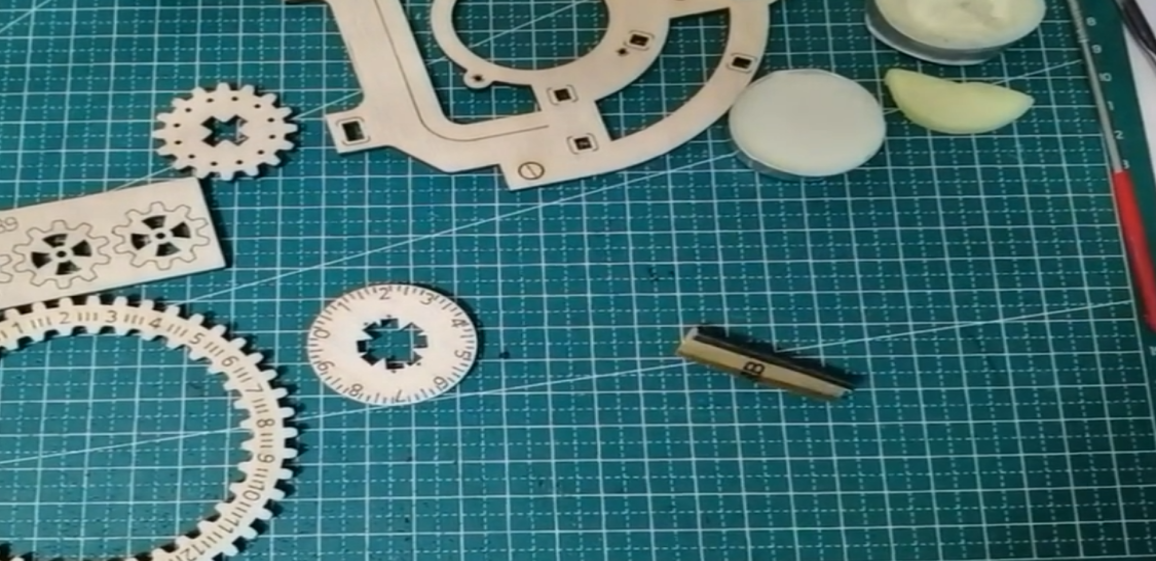
Most of the parts that need to be waxed are gears, which are for mechanical transmission in the 3D puzzle. And there are also a small number of other shapes.
One trick is to read the instructions carefully before assembling. Usually, the parts that need to be waxed on the instructions are the transmission structure.
Many people want to ask: what kind of wax should I choose? It's actually quite simple - Just use candles.
Reminder: For better wax of your wooden gear, some experts from our FB group said to use beeswax, petroleum jelly, wood lubricant, or lube stick.

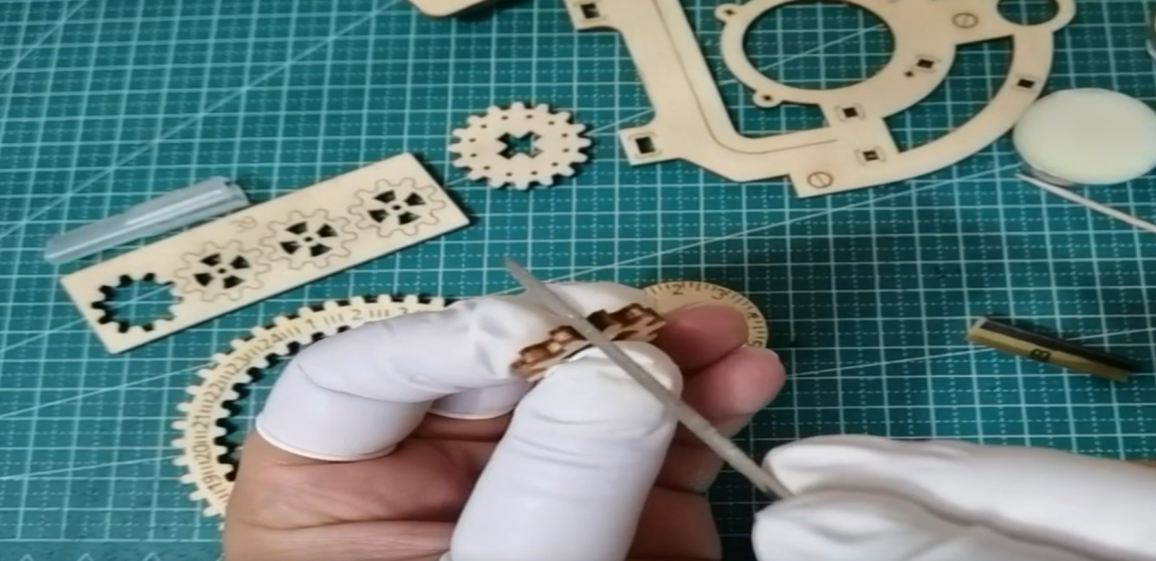
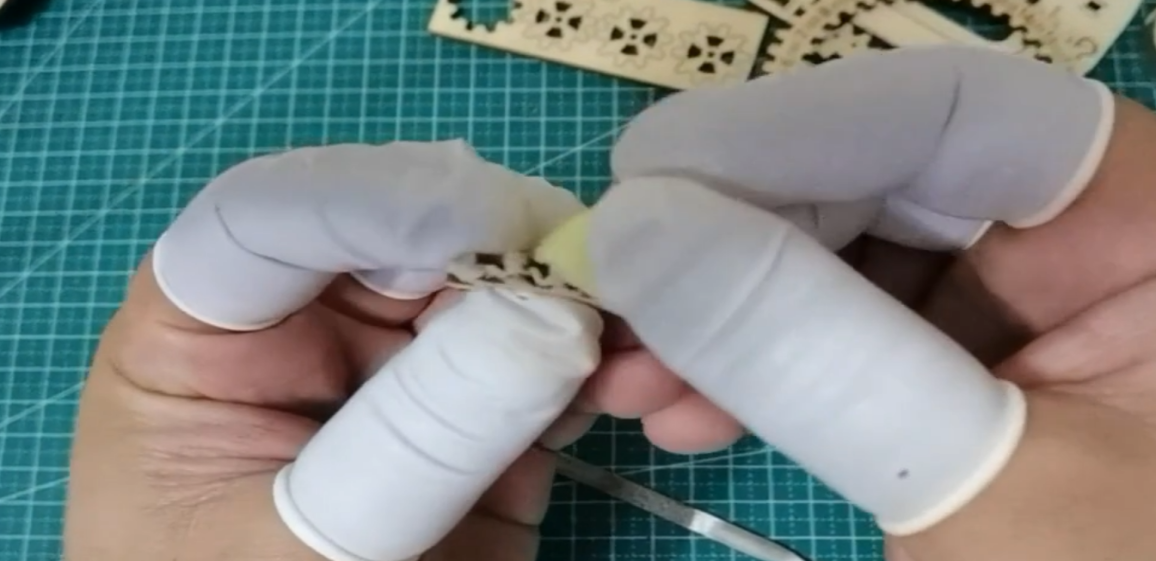
It's helpful to have a small soft paintbrush handy. If not, you can also use toothpicks to spread the wax evenly.
Cut your wax into a convenient size, and the smaller pieces can be melted into a more significant piece for preservation. Apply the wax block directly to the occlusal parts of the gears and transmission parts. Remember to apply it properly. Then, use a soft brush or toothpick to remove excess wax.
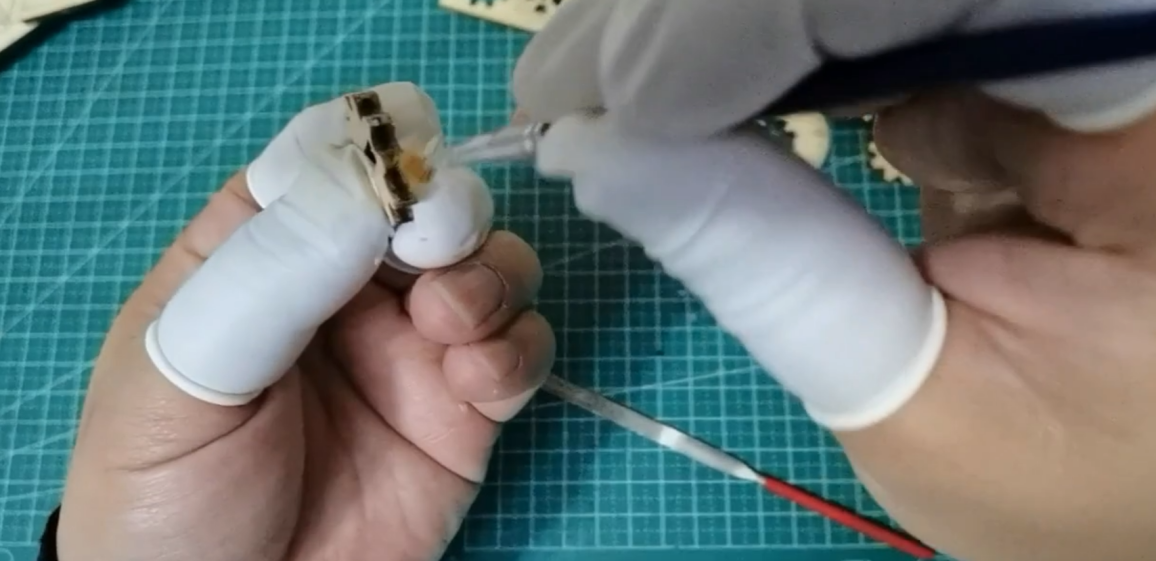
Another way is to melt the wax in a small container and then apply a brush dipped in the wax to the part. The advantage of this method is that the wax liquid covers evenly and penetrates the part. But it is more troublesome and requires patience.
Finally, after all the parts are processed, it's time to assemble them. Now, you will have a different 3D puzzle assembly experience. Go and try it!


