


Rolife Sunshine Town DIY Book Nook Kit Review
Editor's Note: This is a review post about the Rolife Sunshine Town Book Nook, originally posted by @buildingwiththeboys on YouTube. We have compiled and summarized the contents mentioned in the video to objectively and impartially review this puzzle kit for everyone.
Description
The Rolife Sunshine Town Book Nook will remind you of the European streets of old movies. It looks romantic during the day, with just a hint of mystery once the sun sets. From the cobblestone street to the many cozy shops, there is plenty for you to explore.
Details
- 246 pieces
- 3D wooden puzzle self-assembly kit
- About 4 to 6 hours of assembly time
- Difficulty level: ★★★★
- Assembled size: H:7.5"(19cm) x W:3.9"(10cm) x D:9.4"(24cm)
- Free international shipping for orders over $65
- 30-day risk-free return policy
- It comes with plenty of spare parts in case of breakage
- Assembly tools included
- Free parts replacement service
- Requires 2 pcs of AAA/LR03/AM4 batteries
- Numbered parts with detailed instructions and pictures
Features
- Pre-colored - The parts have already been pre-colored, but you can still paint some of them if you have a specific color palette in mind.
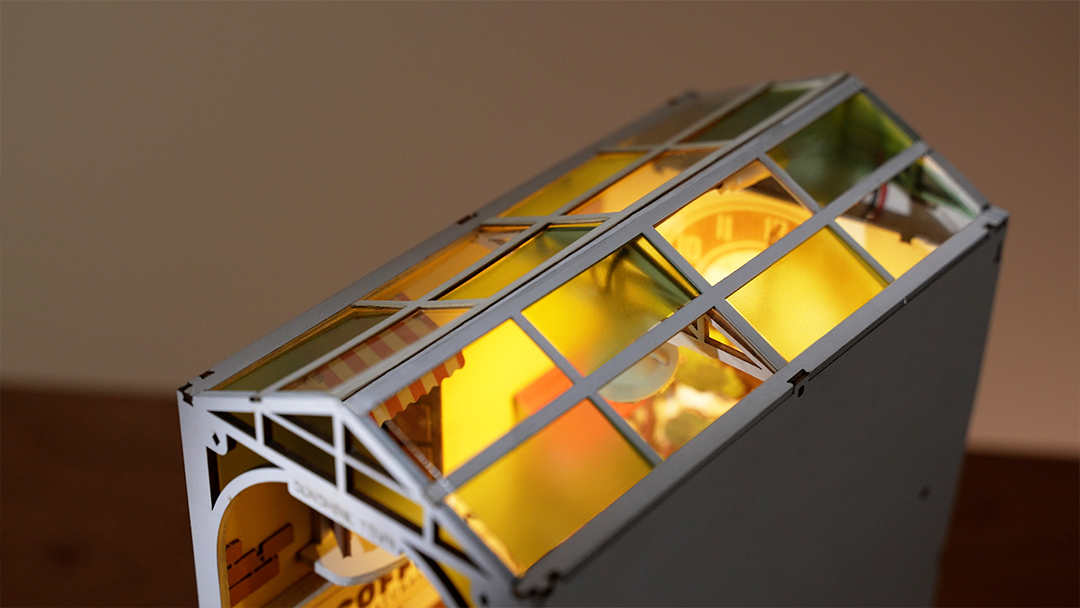
- Translucent PET roof - This gives the illusion of natural light.
- Mirror - This is a fantastic feature that gives more depth to this book nook.
- Warm Light - A push of a button turns Sunshine Town from daylight to dusk.
Assembly Tips
- Because of customs policy, paint, glue, and batteries are often not included in international orders. Fortunately, you can easily buy wood glue and acrylic paint from local crafts stores.
- Since many parts of the Sunshine Town book nook are small and delicate, you can use a bottle with a precision tip applicator to apply just the right amount of glue at the right spot. For more glue tips for miniature houses, visit the Best Glue for Miniature Houses.
- If painting is not your thing, you can use acrylic paint pens to color the edges. It’s easier to use, and you can control the flow of paint that’s coming out of it.
Assembling the Rolife Sunshine Town Book Nook
Here’s a simplified guide on how to assemble the Sunshine Town. I’m not going through all of them - you have the instruction manual for that. Instead, I’ll focus on the parts that I think require more explanation and give you some tips.
Putting Together the Plants
All you need to do is put some glue inside the pot and jam the yellow plant in as much as you can. Then, you can trim it, if needed, to make it look like a bush.
For the second plant, the instruction manual says it’s green but they’re actually red. I tied the little stems into one string. Then, just like I did before, I put a coat of glue inside the pot. Next, I threaded the bottom string of the plant through the pot and pulled it until it was perfectly positioned. Once the glue sets, you can trim off the excess string.
After the plants, I attached the green window to the front piece, assembled the doors, and glued the flower vase, cup, and saucer to the tray. At this stage, there’s nothing really complicated. It’s mostly just building and gluing little pieces together. As long as you follow the instructions, you’ll be okay.
Figuring Out the Wiring
The first thing you need to do is cut a 2.5 mm piece of the yellow tube. Then, take your P3 wire, the black and red one, as well as the lampshade.
Make a hole in the lampshade, as I’ve shown in the video. Thread the black and red wires through the hole and pull the wires all the way through. The bulb should be flushed against the lampshade. Don’t use too much force and take your time coaxing the wire in instead.
Thread the black and red wire into the 2.5mm piece of yellow tube that you cut earlier. Again, it should be flushed against the lampshade.
Now, you need to heat the tube up to make it shrink. You can use a hair dryer but that will take more time. What I did, instead, was use a lighter that I’d set to the smallest flame. Keep the flame just close enough to get the heat to shrink the yellow tube. The flame shouldn’t touch the tube otherwise it will scorch it and leave a blackened area.
Next, thread the I8 piece and thread the black and red wire through it. Use your tweezers to pinch the end of the yellow tube lightly and squeeze it through the hole. Finally, thread the black and red wire through the wall.
Moving on to the Battery Box
First things first, put your batteries in the battery box so you don’t have to turn your completed book nook upside down later. Close it up using a screwdriver.
Assemble the wooden pieces which will house your battery box. Feed the wire through the small slot and put the battery box in place. Next, position the non-touch side of the touchpad, as I’ve shown in the video, and arrange the wires on the slots on the ends of the wooden housing.
From here, just follow the instruction manual until you’ve attached the battery box under the section where the cat is. Move on to attaching the front piece as well as the button.
Then, just like what you did with the lampshade, do the same for the black lamp post.
More Wiring
Follow the instruction manual until you reach the next part about wiring. So, what you need to do is take the three black wires and one white wire and twist them together. Wrap it with one of the insulation tapes. Do the same for the three red wires and one yellow wire.
Once the wires are properly connected, turn on the battery box and press the touchpad. If it doesn’t light up, either you need to go over your wires again, or you may have a dud. The touchpad is actually a bit finicky since the wood covering the touch switch is quite thick. You might have to press it with your thumb to get it to light up.
Finishing Up
Move on to the fourth wall and all its elements. Then, attach it to the book nook. Put on the roof and voila, you’re done!
Final Words
I’m very happy with the Sunshine Town book nook. It’s not my favorite, but I do like it. It’s very cute.
In terms of the assembly, I made some small mistakes here and there, but it’s not that complicated. Although, I think if Rolife could make the wires plug and play, it would make assembly much easier.
I’d rank it third out of the three Rolife book nooks that I’ve done so far, Time Travel and Magic House being the other two. The Sunshine Town is a very busy nook with a lot of little details, so depending on what you like, you might prefer it. In fact, who knows? It might actually grow on me.


